
Hello everyone! For my first "official" post I am going to show you how I made my own headboard! Very exciting!! But seriously this was really fun and exciting for me.
Okay so basically my room was ugly and boring before and I felt like I was living in an insane asylum because everything was WHITE. I decided to spice things up a bit by adding a headboard! Originally, I was just going to buy one from Urban Outfitters. They have some suuuuuper cute ones, but when I saw the price I was like "eh, that ain't so cute." Literally all of them were around $400, even one that looked exactly the same as the one I built. After talking it over with my mom, I came to the conclusion that I can make my own! And that's what I did!
I'm going to give you the steps I used to make it, and what the cost of everything was *approximately*. DISCLAIMER: My bed is a FULL size!
This is what my (messy) room looked like before:
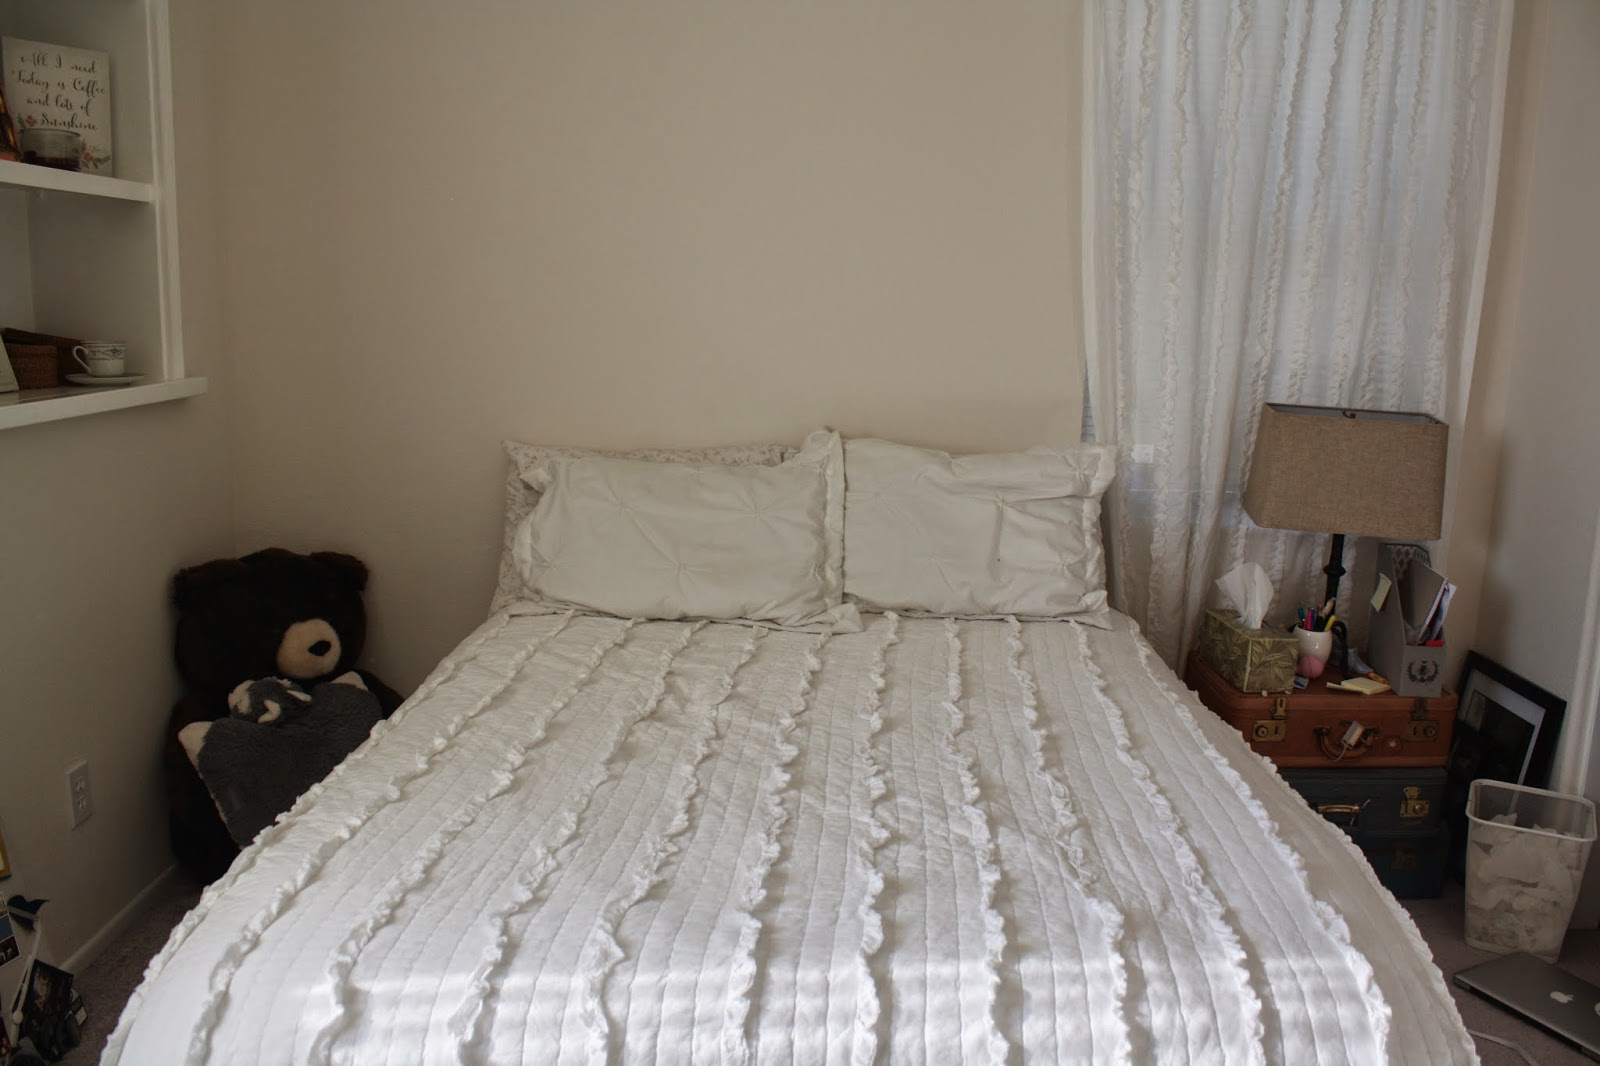
So boring. And messy. Sorry about that.
The first thing that I did was buy the supplies! Everything was from Home Depot, and I made a total of three trips because I kept buying the wrong size screws (whoops!).
You will need:
2" x 6" x 10ft. Whitewood Planks - 6 total ($5.67 each)
1" x 2" x 8 ft. Furring Strip Board - 3 total ($0.95 each)
Minwax Water Based Stain in "Natural Peach" - 1 quart ($10.77)
Deft Water Based Satin Finish Aerosol Can - 1 can ($6.99)
2" Wood Screws - 40 total ($4.19)
Washers - 8 total ($0.15 each)
Total: $60.02 and some tax. Not bad!
Total Time: About a day and a half
You will also need a power saw, sand paper (I used a power sander), and a drill.
Step 1) Measure your bed frame and decide how long you want your headboard to extent past your bed. My bed frame was 54", and I made my boards extend 3" past my bed on each side. Total, my headboard is 60". My bed is also 2 ft. off the ground, so this is how high my headboard needed to be.
Step 2) Cut your wood! My mom helped me with this step because I have never used a power saw before, so don't be afraid to ask for help! Since each one of my planks were 120" total, I was able to cut them directly in half to achieve 12 60" boards. It worked out perfect!
Step 3) Sand all the hard edges off of each board. My mom also helped me with this step because I've never used a power sander before. You only need to sand the side that you are staining, so I recommend that you pick the side of the wood that you like the best before sanding.
Step 4) Stain! I used rubber gloves and an old sock to stain my wood, but you can use a pad or whatever you like to do yours. I only used one coat, and not even a quarter of the can. I didn't want the wood to be super "peachy" so I used the littlest amount of stain possible. In these next couple of pictures you can see my sock-hand.


Once you are done staining, lay all your boards down and wait 1 hour for them to dry.
Step 5) Spray the wood with a clear coat finish. I must warn you, I could have gone without this step. My spray literally did nothing, it made no difference and it still felt like gritty wood. It could have been a number of things as to why the happened, i.e the brand I used, how many coats I did, not spraying properly. But I really didn't care! So you can do this step if you want to or not, I did and it was a waste of time lol. After the first coat, I waited three hours and then applied a second coat. The directions on the can say that you are supposed to sand the boards in between each coat, but ain't nobody got time for that. After the second coat, you have to wait 24 hours for it to dry.

Step 6) One...day...later...time to assemble the headboard! Yay!!! This part is pretty simple, just screw the Furring Strip Boards into the back of the 12 planks! Make sure you cut the strip boards to the appropriate length of your bed height, you want the headboard to be flush with the top of your bed. For the third strip board, cut it so that it will fit diagonally across the inside of the two outer posts. This time, I cut the wood by myself and managed to keep all of my limbs intact.
Notice how both of my posts are screwed 3" inward of the planks!

This next strip board is optional I guess, but I wanted to add it for extra support. I would definitely recommend it, the headboard felt much sturdier after I attached it!

Step 7) If you are a weakling like me, find a local strong man (shoutout to my boyfriend Bryan for helping me out with this step) and have him carry the headboard into your bedroom. Place the headboard so that it lines up with the holes in your bed frame. Use the last four screws and the 8 washers to attach the headboard to your bed frame, and THAT'S IT! You're done!! You made your own headboard! How cool is that?


I hope you all give this a try! It saved me a ton of money and I had a lot of fun making it. And I got to use power tools (;
And remember, it's okay if it has imperfections! I don't think I would like mine as much if it was absolutely perfect! It makes it more unique!
Big thanks to my mom, my dad, and Bryan for helping me out!
Thanks for reading!
- Justine
No comments:
Post a Comment